Table of Contents
Everything You Need to Know Before Buying Drone Filters
You’ve invested in a drone, learned to fly, and now you want to record truly cinematic footage.
But, when you watch your videos, do you notice unwanted reflections, washed-out colors, or choppy movement?
The good news is that there’s a simple and affordable solution: using CPL and ND filters on your drone.
In this complete guide, I’ll answer the main questions, explain how to choose the right filter, and show you where to buy high-quality drone filter models.
What is a CPL Filter and What Is It For?
The most common filters for drones are the CPL (Circular Polarizer Lens) and the ND (Neutral Density). The CPL is the filter that reduces reflections and improves the contrast and saturation of colors.
The polarizer filter (CPL) reduces reflections from surfaces like water and glass, intensifying colors and contrast. It’s excellent for recording videos over the sea or on flights over dense forests.
📸 When to use: filming over water, glass, metallic surfaces, or landscapes with sky and vegetation.
✅ CPL Benefits:
- Reduces reflections on water, glass, and shiny surfaces.
- Intensifies colors, making skies bluer and vegetation more vibrant.
- Improves contrast naturally, reducing the need for heavy color correction in editing.
What is an ND Filter and What Is It For?
The ND (Neutral Density) works like sunglasses for the drone’s lens, reducing the amount of light that enters without altering colors.
📸 When to use: on very sunny days, or for outdoor filming with a lot of brightness.
✅ ND Benefits:
- Maintains the correct shutter speed for smoother videos (cinematic motion blur).
- Prevents overexposed images on bright days.
- Allows more creative control over depth of field.
Use neutral density (ND) filters on your drone’s camera. They allow you to use slower shutter speeds, creating the desired cinematic “motion blur.” For 30 FPS, the ideal shutter speed is 1/60, while for 60 FPS, the ideal is 1/120. This simple setting will give your videos a cinematic look.
Mastering Motion Blur: The Shutter Rule
For filmmakers seeking a truly cinematic result, shutter speed isn’t a mere detail. The standard rule, known as the 180-degree rule, suggests that your shutter speed should be double your frame rate (fps). For example, when recording at 30 fps, the ideal speed is 1/60s. At 25 fps, the correct speed would be 1/50s.
Maintaining this proportion creates the ideal level of “motion blur,” making transitions and movements smoother and more natural to the eye. On clear, sunny days, however, using a speed of 1/60s would result in a completely overexposed, if not white, image. This is where ND filters for drones come in. They work like sunglasses, reducing the light that reaches the sensor and allowing you to maintain the ideal shutter speed for your video without compromising exposure.
How to Adjust Motion Blur: The Role of ISO
Many drone pilots are unsure about when to switch an ND filter for a stronger or weaker one. The answer lies in the ideal balance between the filter and your camera’s ISO setting.
Remember this step-by-step guide:
- Set your Shutter Speed: Start by setting your shutter speed to achieve the desired “motion blur” effect (remember it should be double the frame rate, such as 1/50s for 24fps videos).
- Adjust the ND filter: Choose an ND filter that, at first glance, seems appropriate for the lighting conditions.
- Reduce the ISO: If, even with the filter, the image on your remote is still too bright or has “clipped” highlights, the next step is to reduce the ISO. Take it to the lowest possible value on your camera, which is usually ISO 100.
- Only change the filter if necessary: Only switch to a stronger ND filter (e.g., from ND16 to ND32) if, even at ISO 100, the highlights in the image remain overexposed. Continue until you achieve the ideal image, without overexposure and that isn’t too dark.
- OBS: On some remote controllers, like the DJI RC-2, you can configure a visual assistance tool to identify overexposed areas. This feature displays crosshatch lines over parts of the image that are “clipped,” making it easy to see and allowing you to adjust the filter ND or ISO in real-time to obtain the perfect exposure.
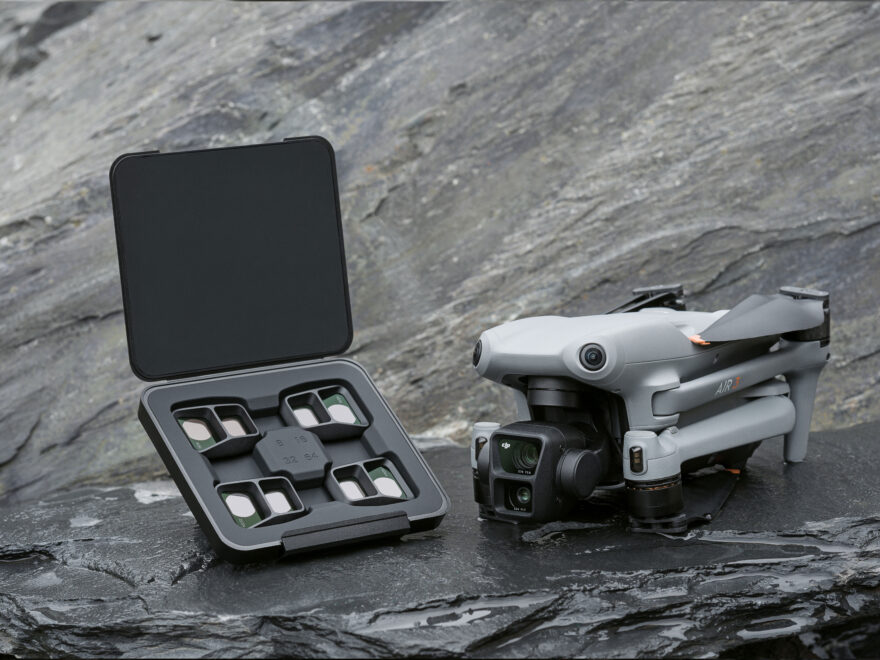
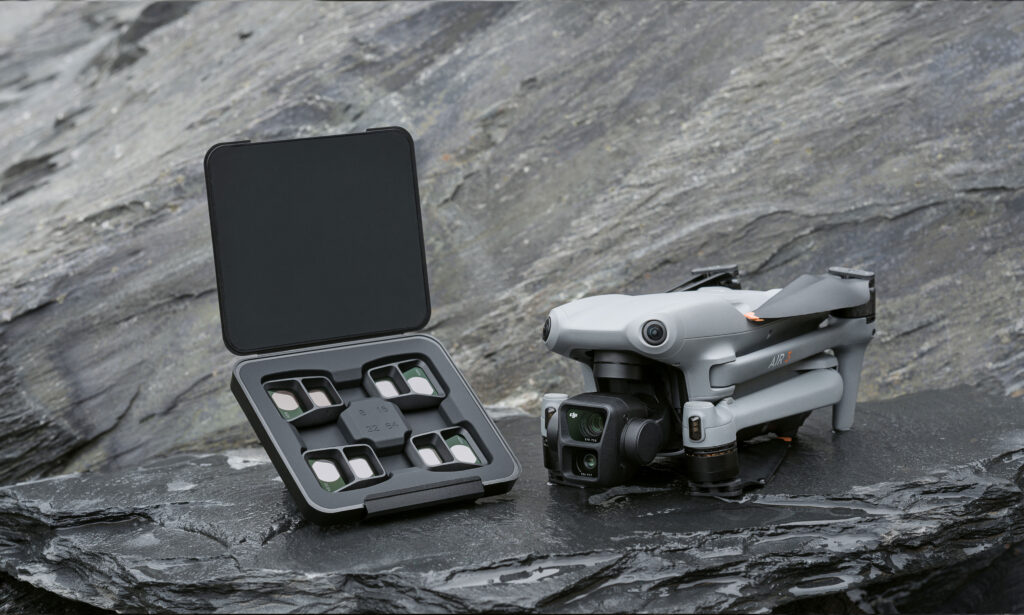
Specific Filters for Each Drone
Before buying drone filters, one detail is fundamental: lens filters are specific to each drone model. The fit for a DJI Mini 4 Pro drone is different from the fit of a DJI Air 3, or a Mavic 3, for example. This happens because each drone has a unique lens and gimbal shape, requiring a filter with exact dimensions and weight to avoid compromising flight performance or damaging the equipment.
Always check the product description and make sure the filter is compatible with your drone model. Investing in the right accessory will ensure a perfect fit, flight safety, and, of course, the image quality you expect.
Where to Buy Quality Drone Filters
If you want sharper, more colorful, and more cinematic images, choose recognized brands like BRDRC, Freewell, PolarPro, and PGYTECH.
To optimize your workflow and reduce the number of accessories, the market offers a hybrid solution for drone filters: the ND/CPL. These filters combine the functions of both types in a single piece. With an ND/CPL filter, you can reduce the amount of light that reaches the sensor (ND function) while also eliminating reflections and intensifying colors (CPL function). They are the ideal choice for those seeking maximum efficiency on sunny days, allowing you to capture high-quality cinematic images with a single filter.
How to Adjust the Filter Position
Unlike traditional ND filters, ND/PL filters have a rotating ring. This ring is the key to activating the polarizing function (CPL). To use it, you must rotate the ring while watching the drone’s remote control screen. As you rotate it, you’ll see reflections on water, glass, or non-metallic surfaces gradually disappear, and the colors of the sky and vegetation become more saturated. The goal is to rotate the ring until you find the position where the desired effect is at its maximum. Remember to do this calibration before taking off, with the drone in a stable position on the ground or right after takeoff, to ensure the best result in your recording.
CPL vs. ND Filters: What’s the Difference?
| Feature | CPL | ND |
|---|---|---|
| Function | Reduces reflections and enhances colors | Reduces light and controls exposure |
| Best use | Water, glass, landscapes | Bright sun, video recording |
| Effect on colors | More saturation | Maintains original colors |
| Shutter control | No | yes |
💡 Pro Tip: The ideal is to have both. Some manufacturers offer ND/PL, which combines ND + CPL.
How to Choose the Right Filter for Your Drone
- Compatibility: Verify that the filter is made for your model (DJI Mini, Air, Mavic, Avata, etc.).
- Glass Quality: Choose multi-coated optical glass to avoid losing sharpness.
- Lightweight: Heavy filters can put a strain on the gimbal.
- ND Intensity:
- ND4 / ND8 → morning or late afternoon.
- ND16 / ND32 → strong sun.
- ND64+ → snow or desert.
Quick Summary of the Most Used Drone Filters
- CPL: eliminates reflections, makes colors vibrant.
- ND: controls light and maintains smooth motion.
- ND/PL: combines both benefits.
If you want to take a leap in the quality of your videos and create images that grab attention on YouTube, Instagram, and TikTok, the time to invest in drone filters is now.
FAQ (Frequently Asked Questions)
Are drone filters worth it?
Yes. Filters are essential for professional captures, controlling light and reflections.
Do ND filters change the image color?
Quality filters do not alter colors; they only reduce light.
Does the CPL need to be adjusted before flying?
Yes. Rotate the CPL ring until you find the ideal point to cut reflections.
What is better for filmmaking: ND or CPL?
It depends: ND is for controlling light and motion; CPL is for reducing reflections and enhancing colors.
Can I use ND and CPL together?
Yes, the market offers a hybrid solution for drone filters: the ND/CPL.
What are the best drone filter brands?
There are several excellent brands on the market, and the “best” one will depend a bit on your budget and needs. However, some brands stand out for their quality, durability, and reputation among drone pilots.
Here are some of the most recommended brands:
K&F Concept: A brand that stands out for offering a great balance between quality and an accessible price. It’s an excellent alternative for those who want good optical performance without having to invest a very high amount, being popular among amateurs and enthusiasts.
PolarPro: Considered by many to be the leading brand in the drone filter market. They are known for the superior quality of their glass and robust construction. It is a premium option, ideal for professionals who do not compromise on the best image quality.
Freewell: It is one of PolarPro’s main competitors. It offers high-quality filters and great value for money, especially in kits. Freewell is very popular for its “All Day” kits, which include a variety of ND, ND/PL, and CPL filters.
DJI: The drone manufacturer itself also produces its filters. They are a safe option with guaranteed compatibility and quality. If you are looking for something reliable and hassle-free, the official DJI filters are an excellent choice.
Pgytech: Famous for its drone accessories, Pgytech also offers a line of good-quality filters. They are known for their innovation in design and construction, and are a solid option for those who want a reliable product.
You Might Also Like
Now that you have the knowledge to take your photography to the next level, why not apply these lessons with a high-quality piece of equipment? Check out our in-depth review of the DJI Mini 4 Pro and see how this drone can help you create amazing videos and photos.
-1024x819.jpg)
🌊 About the Nau Catarineta Channel
Welcome to our universe! A YouTube channel dedicated to the culture, landscapes, and iconic events of the Brazilian Northeast. Through videos and content, we navigate together to celebrate our identity and showcase the beauty of our region.
The name “Nau Catarineta” is inspired by one of the symbols of northeastern culture: the story of the ship that sailed in search of adventures and challenges and was immortalized in “cordel” literature. Just like the ship, we navigate through lands and seas that show the beauties and stories that make our region unique.
Every video is an invitation to travel, learn, and fall in love with Brazilian culture and nature.